Australia & New Zealand (03) 9540 5100

Automotive Industry

Application Automotive

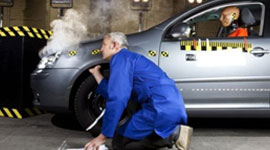
Bestech Australia’s expanded scope of accelerometers, pressure & displacement sensors, microphones, data acquisition systems, as well as colour sensors covers increasing demands of automotive manufacturers in crash testing, transmission & engine testing, ride quality testing, R&D and NVH testing, detailing & painting, quality assurance and so forth.

The highlights of our products are:

  • Minimal mass loading
  • Broad frequency response
  • High-output
  • High-impact shock & vibration (linear range up to 2,500g)
  • MEMS based, undamped to minimize phase shift
  • Online spectrum colour measuring system

With Head Office based in Melbourne, Bestech Australia has a unique advantage of engaging the business with local automotive manufacturer and assembly factories.

A wide range of measurement system are provided by Bestech Australia to facilitate measurements in the automotive sector.

  • Laser triangulation sensors
  • Laser profile scanners
  • reflectCONTROL sensors
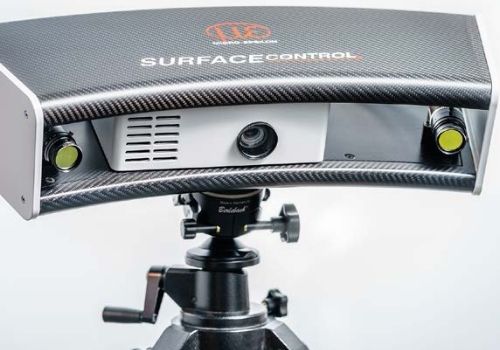
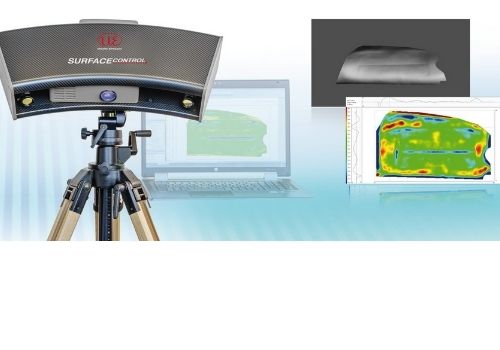
  • surfaceCONTROL sensors
  • Eddy current sensors
  • Capacitive Displacement sensors
  • Temperature sensors
  • Color sensors

Gap and flushness measurement of car bodywork parts

Gap and flushness measurement of car bodywork parts

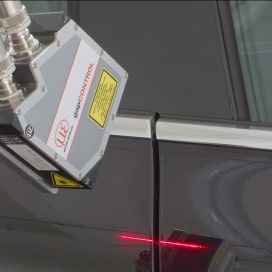
During car manufacturing, it is important to give an utmost importance to design along with technical aspects for ensuring customer satisfaction. Hence, certain minor flaws such as different gap sizes on both sides of a bonnet and a door that doesn’t close flush cannot be overlooked. To measure gap, the conventional method of using manual feeler gauges is no longer a preferred approach, since it is time-consuming, costly and more prone to human-errors. To fulfil this requirement, special purpose sensors based on unique software algorithms are introduced.  Bestech Australia presents gapCONTROL gap sensor to detect the gap and provide output...


READ MORE

Gap monitoring in car interiors

Gap monitoring in car interiors

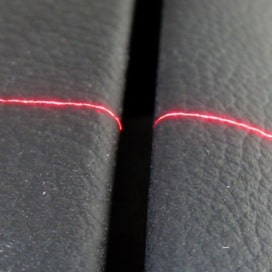
The interior of a car is the first thing a customer observes in a car and it plays a major role in the sale. Hence, even a minor fault can impact the decision of the customer who shows interest in the purchase. These faults revolve around the width and height of a gap and the gap between the single cockpit elements such as the centre console or door trim. Therefore, these gaps should be carefully measured and monitored for quality control.  The gapCONTROL profile scanner by Bestech Australia inspects the gaps of all parts in the car interior during final assembly....


READ MORE

Inline burr measurement on sheet edges in car body manufacturing

Inline burr measurement on sheet edges in car body manufacturing

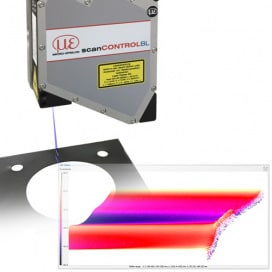
In car manufacturing process, due to punching and cutting at the edges of raw material sheets, burrs are likely to be formed which may hamper the process of applying corrosion protection layer by reducing the thickness of the layer. Such areas may corrode over time, making the automobile less efficient and thereby damaging it. Therefore, it is necessary that the thickness of these burrs are identified before even beginning the painting process. Bestech Australia offers a Plug & Play system by Micro-Epsilon that provides high precision results with its high point resolution of approx. 8μm along the laser line in...


READ MORE

Colour and intensity tests of car lights

Colour and intensity tests of car lights

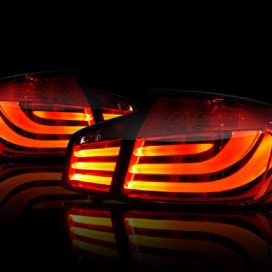
The color and intensity of car lights must be inspected at the end of production of car lights to ensure that there is a homogeneous distribution of light with fluctuating LED batches. To perform this color inspection, special color sensors are used in which an optical fibre tests different points simultaneously to inspect all the LEDs. The LED Analyzer colorCONTROL MFA by Bestech Australia is used for this purpose. The sensor enables between 5 and 20 measuring points at the same time and a serial interface is used to connect to the higher-level system. The sensor is very articulate in...


READ MORE

Laser profile scanner for cockpit assembly in cars

Laser profile scanner for cockpit assembly in cars

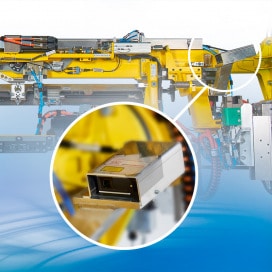
During the automotive production process, assembly of cockpit modules requires very precise position of assembly parts.To do this, the gripper tool is used to dock with the cockpit on the vehicle chassis on both sides. Then, a profile measurement is performed by a laser profile scanner measure the current position of the module in the Y- and Z-axes in the vehicle coordinate system. With the help of the measured values, a comparison of the measured values and the preset values is done to determine whether cockpit has been positioned correctly. ScanCONTROL laser profile scanners by Bestech Australia are ideal to...


READ MORE

Axial Strain Measurement in Bolts

Axial Strain Measurement in Bolts

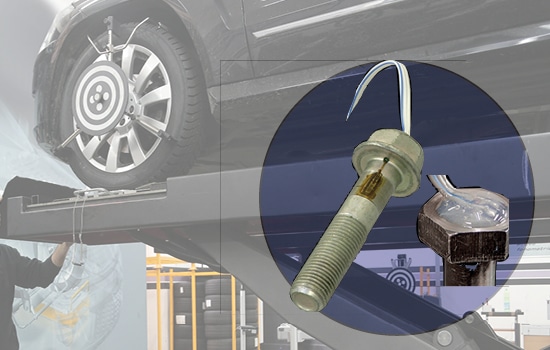
In mechanical structures such as bridges, expressways, cars, and airplanes, bolts are essentially used for connecting the structural members. They are designed to handle relatively heavy loads, while continuously bearing stress concentration, crack, corrosion and looseness. These external loads tend to affect the intensity of the axial force applied to the bolt. The inadequacy of this force can cause damages to the structure due to looseness. In a similar way, the excessive axial force could also impose stresses on the bolt, which in turn lowers its efficiency. Therefore, axial force monitoring is a significant factor in the detection and investigation...


READ MORE

Strain Measurement in the Tie Rod of a Motor Vehicle

Strain Measurement in the Tie Rod of a Motor Vehicle

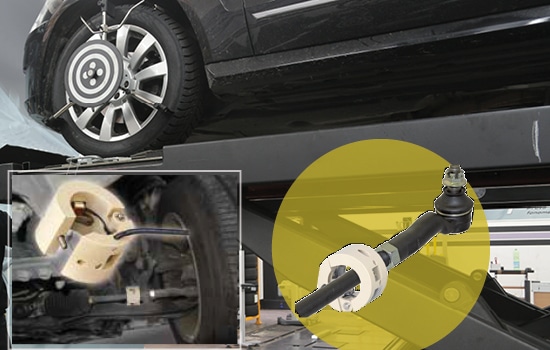
The tie rod of a car connects the steering wheel to the steering gear and the steering gear to the wheels of the vehicle. It mainly ensures that the wheels are aligned by providing the adjustment for the wheel to align and keeping the tires free from wearing out on the inner as well as outer edges. Now, as the suspensions components in an automotive are constantly under varying loads, the tie rod end can be worn due to rubbing and wearing. This can result in wandering, erratic steering and excessive tire wear. Therefore, it is clearly important for the tie...


READ MORE

Intensive Testing in PCBs

Intensive Testing in PCBs

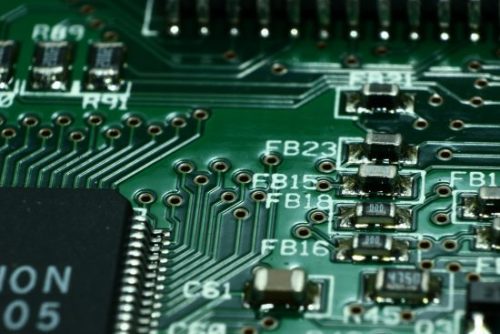
Electronics integrated in cars, smartphones, airplanes, and machineries consist of PCB (Printed Circuit Boards) integrated in them. The quality of these PCBs impacts the reliability of the entire electrical system of these equipment. Also, during the manufacturing and transport of the PCBs, they are exposed to various mechanical and thermal strains that affect their quality and sometimes result in the failure of components. These strains include bending strain during the installation of components, breakage during mounting, vibration during transportation, thermal effects and mechanical stress due to screw tightening. Therefore, the mechanical quality of PCBs are checked at the early stages...


READ MORE

Measurement of Stress Concentration in Car Windshields

Measurement of Stress Concentration in Car Windshields

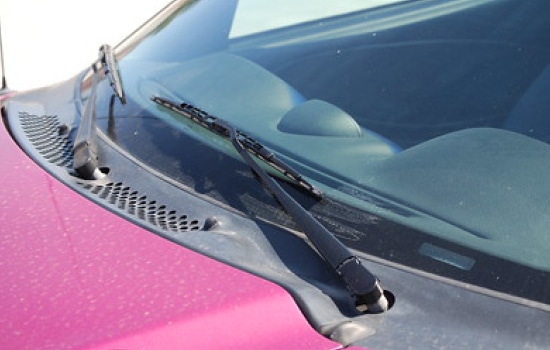
Automotive windshields have evolved rapidly in terms of design and size to provide better visibility and car windshields. However, they are constantly subject to a complex set of stresses resulting from bending, heating and laminating processes. This results in the formation of cracks due to tensile stresses developing near glass edges. Furthermore, the windshield glass becomes hazardous and prone to shatter. Therefore, to assure quality and avoid service failures, strain gauges are employed by automotive glass manufacturers for measuring compressive and tensile stresses at numerous points around the periphery. The installation of foil type strain gauges on glass can be problematic due to...


READ MORE

High-speed Measurements on Advanced e-mobility systems

High-speed Measurements on Advanced e-mobility systems

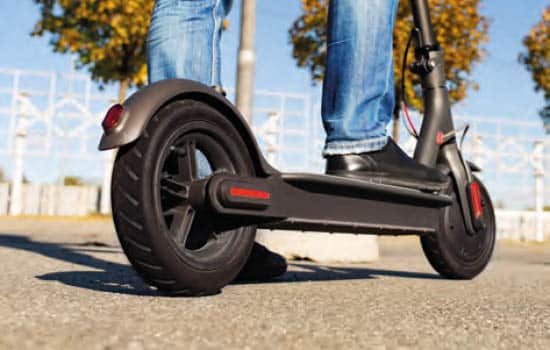
Modern mobility systems such as e-cars, e-scooters, e-aircrafts, or rail vehicles have electronic components as key components for propulsion. The functioning of these mobility systems entirely depends on the reliability of these electronic components, which consist of a battery, inverter, and e-motor. The inverter controlled drives of such vehicles utilize an intelligent power module which includes basic control circuits. It uses PWM (Pulse Width Modulation) to enable the speed controllers to control the flow of current from the battery pack to the motor. The PWM method involves supplying pulses of electric current to the motor, in which electric current is...


READ MORE

Thickness measurement of protective coating on PCB

Thickness measurement of protective coating on PCB

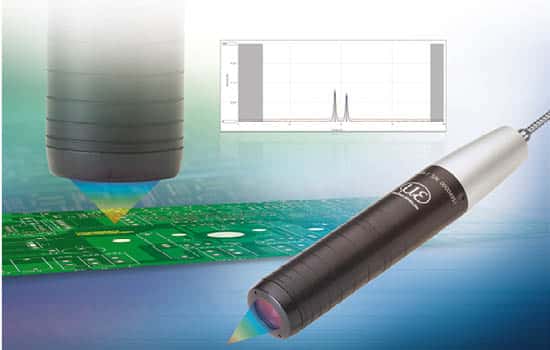
PCB boards can get influenced by environmental factors such as humidity, which is why it is important to protect the PCBs with a protective clear varnish. This coating is required to be at a specific thickness for some applications. This level of thickness needs to be maintained to perform a measurement without destroying the target. Confocal sensors from Micro-Epsilon can solve this problem without making contact with the target and therefore in a non-destructive manner. They can measure thickness in real-time. The confocalDT IFS 2405 confocal chromatic displacement sensor is characterised by its small spot size and excellent precision for...


READ MORE

Vehicle Misuse Testing to Validate Chassis Components

Vehicle Misuse Testing to Validate Chassis Components

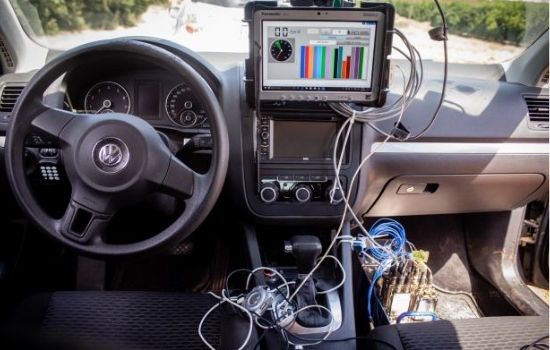
The vehicle testing team at Applus IDIADA is responsible to ensure vehicle safety to avoid crash misdetections by driving the vehicle through different extreme tracks including potholes, ramps, jumps or curbs. With vehicles driving over such obstacles, the chassis systems and components tend to suffer and deform. The team records and measures these deformations and defects to ensure that the critical parts remain functional and the vehicle controllability and passengers’ safety is not at risk. To do so, several sensors such as strain gauges, displacement transducers or load cells are externally installed or pre-installed with the vehicle to gauge the...


READ MORE

Measuring the distance from the road in motor racing

Measuring the distance from the road in motor racing

When it comes to motor racing, some of the smallest details can have an enormous impact on the outcome of a competition. A racing and engineering team must work together in order to find the perfect balance between speed, durability, and safety. To best aid this process, Micro-Epsilon’s laser ride-height sensors are used to monitor the vehicle’s suspension in real-time, which helps them make sure that their car’s setup is optimal. Renowned teams such as Mücke Motorsport opt to get every possible inch they can by using the best-facing technology available, like Micro-Epsilon’s ILD1420 laser triangulation sensors.  These sensors help...


READ MORE

Distance measurements in robot positioning tasks

Distance measurements in robot positioning tasks

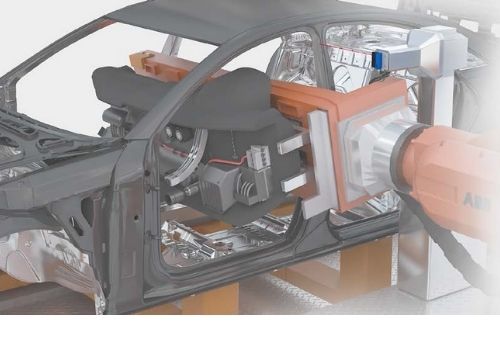
Automotive production is so complex that it’s hard to imagine even the most advanced production line operating without sensors. Precise positioning of individual components at every stage of assembly plays a key role in ensuring the highest quality in the finished car. There are a lot of robots on the assembly line, who all have one job to do. The sensors help the robot to install components to their correct position. When the vehicle body reaches a certain position on the line, it should stop, particularly in the case of cockpit assembly.  However, this isn’t as easy as it sounds....


READ MORE

Surface inspection of car attachments (here: fuel filler flaps)

Surface inspection of car attachments (here: fuel filler flaps)

In every industry, the quality of the finished product matters. Customers demand perfection, and they won’t be happy unless the products meet their high standards. Similarly, the visual appearance of automobiles is as important as the car’s functional components. To ensure flawless product inspection, many companies use optical sensors that provide the detailed inspection of objects like fuel flaps and charging flaps. For a completely reliable inspection, using the surfaceCONTROL2500 3D sensor from Micro-Epsilon is the best choice among the available options.  These sensors perform the crucial function of measuring the fuel filler flaps and charging flaps before the painting...


READ MORE

Surface inspection of instrument panel

Surface inspection of instrument panel

There are various industrial automation processes that require a surface inspection system in order to ensure quality manufacturing. The surfaceCONTROL2500 3D sensor is unique in being the only device of its kind that makes it easier to carry out inspections on diffuse reflecting surfaces on the component. The sensor generates 3D surface models from non-contact measurements and delivers them to software for further analysis. These sensors are also used for surface inspection in car manufacturing procedures. The interior parts of cars are inspected by sensors to check for sink marks and waviness.  These dents are majorly caused by mechanical stress...


READ MORE


X