Australia & New Zealand (03) 9540 5100

Metals

During the production of metallic materials, the use of sensors ensures efficient and safe production and error-free processing. Their wide range of intelligent sensors are suitable for use in production, processing, conveyance and storage of metallic materials. Bestech Australia offers sensors from Micro-Epsilon that are used in many applications in the metal industry such as metal thickness measurement, C-frame thickness measurement, dynamic width measurement, and other special systems for special applications.

Bestech has a huge range of sensors for each of the above mentioned applications in the metal industry.

  • Laser scanners
  • Eddy current sensors
  • Laser triangulation sensors
  • Laser distance sensors
  • Color sensors
  • Optical micrometer
  • Temperature sensors

Temperature Measurement of Molten Metals

Temperature Measurement of Molten Metals

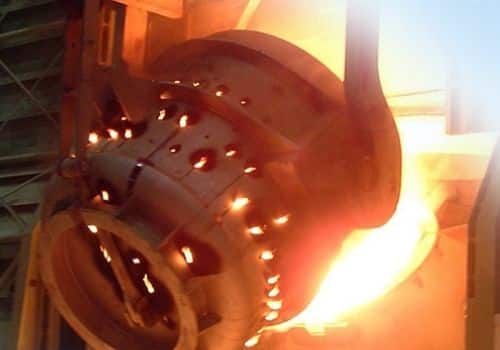
Monitoring the molten metal temperature is essential for production and product quality control during casting. This is because if the temperature of the molten metal is not within the predetermined range, it may result in product defects during the casting process. For example, if the liquid metal is not hot enough, it will exhibit poor metal flow resulting in cavities or bubbles. Non-contact infrared temperature sensors are widely used in metal industry to measure the process temperature during casting. The thermoIMAGER TIM M05 from Micro-Epsilon is particularly suited for measuring the temperature of molten metal from 900oC to 2000oC. This...


READ MORE

3D measurement of components prior to plasma cutting

3D measurement of components prior to plasma cutting

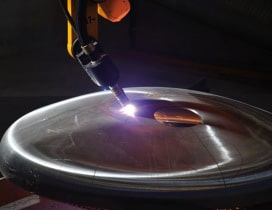
In automated plasma cutting systems, processing vessel and boiler covers require a very high precision in  shape and position. This scanning and evaluation process takes place in very high speed. Hence, a high-speed reliable measuing system is required in this case. Sensor technology from Micro-Epsilon aids in determining the real shape and exact position of the domes within the production line. ScanCONTROL 2900 laser scanners from Micro-Epsilon are used in this process for carrying out the precision profile scanning. Since the results from the CAD data differs from the actual dimensions, the 3D profile of the covers is evaluated and...


READ MORE

Monitoring metal sheet infeed during the pressing process

Monitoring metal sheet infeed during the pressing process

In the deep drawing process of metal sheet, the plate is pressed onto the mold. During the process, the flange of sheet is partially pulled inwards due to the decrease in thickness of the component during the deep drawing process and the displaced material flow from the edge of the sheet. Hence, quality assurance of the pressed part is very crucial and in order to do so, this distortion in thickness could be measured as a change in distance. OptoNCDT 1420 Laser Triangulation Sensors from Micro-Epsilon are used for measuring the distortion, by placing the sensors around the metal sheet...


READ MORE

Monitoring mold deformations in aluminum die-casting

Monitoring mold deformations in aluminum die-casting

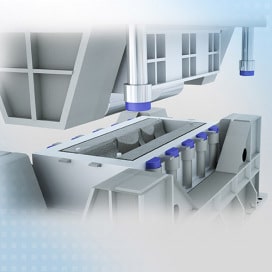
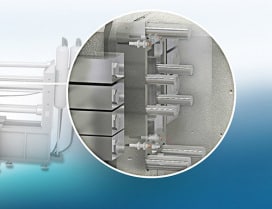
When aluminium die casts are produced, liquid aluminum is moulded under high pressure and the mold halves are held together with a significant force. During this process, the tool halves are pressed apart minimally, which may also cause fraying on the component, if the gap is too large. Also, presense of aluminium residues after the process leads to increased wear and decreases the life of the tool. As a result, tool deformation is monitored using inductive sensors. In this setup, generally, three to four eddyNCDT 3005 eddy current systems are required to ensure consistant gap monitoring. These sensors are compact in...


READ MORE

Measurement of metal stampings

Measurement of metal stampings

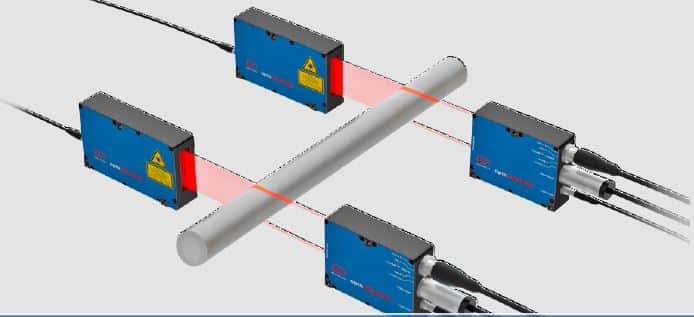
Metal stampings made from ground stainless steel are precisely measured in a fully automatic measurement system containing two optical optoCONTROL micrometers. These stampings are cylindrical in shape and are measured for precision in roundness, concentricity and diameter.  These optical micrometers form one focal point at two different positions and to measure roundness, a ray of light is passed through the two focal points. An encoder is used to provide high precision edge and diameter measurements by rotating the blanks. These rotations are performed thrice in this case to get the roundness measurement. The ODC2600 optical micrometer also simultaneously calculates measurements for concentricity...


READ MORE

Measurement of Fatigue Cracks in a Metal

Measurement of Fatigue Cracks in a Metal

The structural integrity of metals are often limited by their mechanical performance under cyclic loads. These loads are generally the result of cyclic plasticity, sliding or physical contact , environmental damage, or elevated temperatures. The detection of crack initiation and the observation of crack growth are of great importance for evaluating the fracture mechanics and fatigue behavior of metals. It helps in the development and realization of most mechanical components and structures, especially in applications that demand high levels of safety such as the development of railway vehicles. Therefore, measurement of crack propagation of metals is adapted as a routine...


READ MORE

Diameter measurement of coils

Diameter measurement of coils

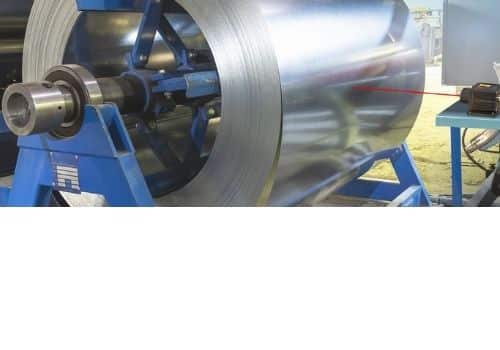
Steel strip coils are used in a variety of industries, including the automotive industry to transport wide flat metal parts. These coils present a unique set of challenges when unwound. For instance, the material’s diameter and weight are both enormous—as is the desire to be able to process the strip further. Here for continuous monitoring and precise detection of the uncoiling process, distance sensors from Micro-Epsilon are required.  An optoNCDT ILR2250-100 sensor detects the coils using phase comparison and tracks them precisely, ensuring that the uncoiling process runs smoothly and at high quality. The sensor follows a simple working principle,...


READ MORE

Diameter monitoring on seamless rolled rings

Diameter monitoring on seamless rolled rings

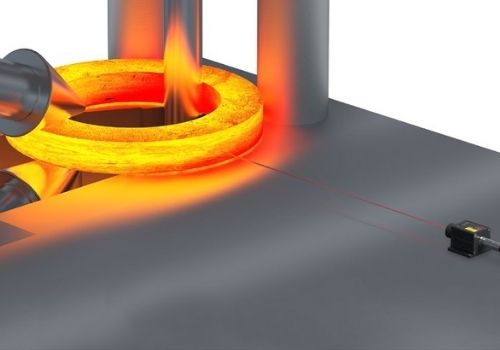
The metal industry combines many different processes, but the ring rolling process is a common one. Materials like steel and titanium are rolled into large-sized rings at very high temperatures. The continuous rolling leads to the increase in the diameter of the ring that must be monitored and measured accurately. However, this measurement process requires sensors to detect the diameter from a distance to avoid damages from high temperatures. Micro-Epsilon optoNCDT ILR2250-100 laser distance sensors can cater to this requirement.  These sensors carry out the measurement on the basis of the non-contact measurement principle, thus are mounted at a safe...


READ MORE


X